Tested: California Superbike School - Cornering Confidence review | Gain confidence & skill
By Stephen Lamb
Production Manager
21.06.2019
Date reviewed: June 2019 | Tested by: Steve Lamb| Price: From £99 | www.superbikeschool.co.uk
How can I improve my motorcycle skills?
In the twenty-two years that I've been riding, there's always been one aspect of my riding that has continually annoyed me and even filled me with dread. Cornering.
I just couldn't seem to be able to do it right. Of course, I know how to get around a corner on a motorcycle without crashing or falling off, but I would never say that I enjoyed corners nor could I keep up with the flow when riding in groups or with friends, despite how relaxed the pace. I would be more than happy on the straights, but come a roundabout or anything more than a gentle bend and it would be a mad panic of unnecessary braking, missed gears and apexes, and prayers to anyone or thing that was listening.
Rather than just calling it quits though and hanging up the gloves for good, I realised that it was time for some further training to see what exactly was causing my issues.
The solution: Cornering Confidence
California Superbike School's Cornering Confidence Training day comprises a classroom-based introduction in which the whole cornering process is broken down into small, easily understandable steps. Not only do we learn what we should be doing at each stage, but also why we're doing it – a great help in understanding the physics behind the process, rather than just learning by rote.
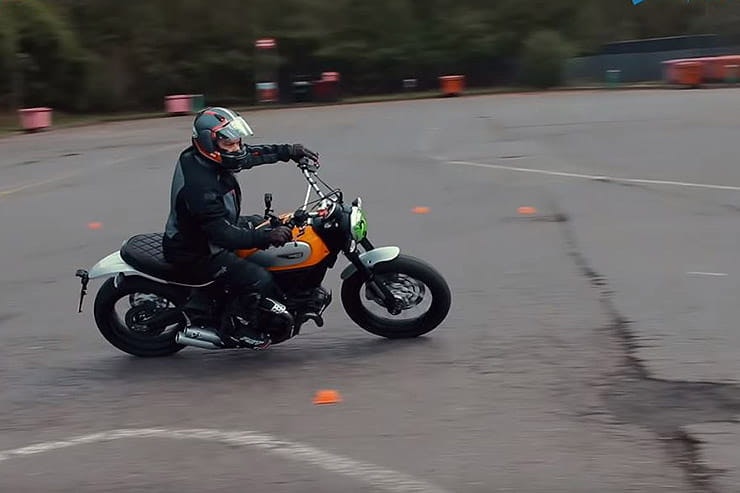
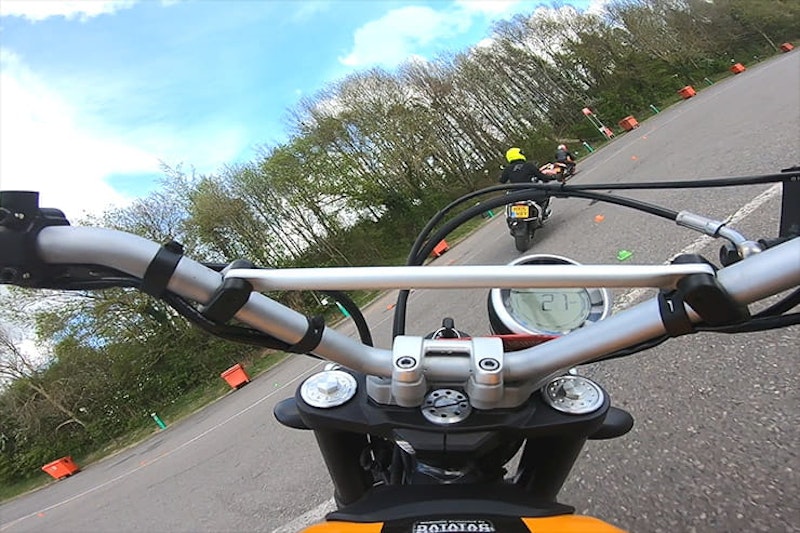
Following the briefing, we're split into three groups and take turns to head off on 'track' – a mini go-kart style track marked out with cones, comprising some flowing bends, chicanes and a hairpin bend at one end.
Session One is all done in one gear, and without touching the brakes – concentrating on entering the corner off-throttle, looking into the corner and only applying the throttle once we’ve reached the apex and were exiting the corner. Removing any gear changes from the equation allows us to concentrate purely on the tip in and acceleration without the added panic of being in the right gear. It also limits speeds to ensure that we are entering the corner at a manageable speed.
Session two introduces light braking to allow some increase in speed, while still allowing the riders to concentrate on making turn-in and throttle application as smooth and controlled as possible. At the same time, it’s a chance to practice the same series of corners over and over again – something we rarely do on the open road.
Session three soon ramps up the concentration levels by allowing the use of firm braking and introducing gears to the equation. This allowed some extra speed on the straights, while making us think about when and how to change down for the corners.
The final session of the day is a chance to put all that we’ve learned in the previous sessions into practice, and try to string together some smooth laps and enjoy the ride.
At any point during our time on track, we can be pulled in and given further advice on our riding, depending on what the instructors observe at the time. This could be anything from lines through the corners, to body positioning.
How to corner on a motorcycle | Gain confidence & skill
BikeSocial's Steve Lamb get some tuition on cornering from the experts
The results
While the course is aimed at beginners and those wishing to gain some confidence, and therefore not about lap times, confidence naturally leads to an increase in speed and so lap times can be used as a measure of how you’re improving throughout the day. As I was carrying a tank-mounted GoPro, I was able to record the day and then, later that evening, armed with a stopwatch and using a fixed line on the circuit, time each lap from the playback. While not 100% accurate, it does give an indication of lap times throughout the day and hopefully show improvements.
As illustrated above, I saw a clear and consistent improvement in lap times. I also saw some immediate improvement following advice I was given by the instructors; they showed me where to look as I turned into the hairpin. In the final session, they also expanded on my leg position and explained how to apply pressure to the tank to aid turn-in.
The improvement in opening lap times between the sessions also shows that, when learning any new skill, we need time to allow the learning to sink in. The gap between sessions, when the groups were rotated, allowed for these newly learned skills to sink in, as well as giving us all a well-earned breather.
Overall, the difference from, say, lap 5 (to allow for learning the course) and the fastest lap was some 15 seconds over a 47 second lap: a 30% improvement.
Conclusion
The end of the day came all too soon, and I was left exhilarated by the improvements I’d made; I had identified (or more accurately, had identified to me) the key issues that had blighted my riding.
My main error was body positioning. Ironically, my own bike – a 2016 Ducati Scrambler – had in some part eliminated some of this issue as, due to the high bars, the force I exerted on them was more horizontal in direction, rather than downwards. This was a naturally more relaxed body position, as none of my body weight was being transferred to the bars, and I was not fighting the steering as much as when riding more 'sporting' bikes.
In addition, I learned the importance of using my legs and knees when riding. Since day one, I had never used my legs to grip the tank when cornering. It was never something that occurred to me, despite seeing any number of sticky pads that you can plaster over your tank to provide some additional knee traction. My assumption was that these were for track day heroes who were hanging so far off the bike that the additional grip was necessary.
The bike now steered into corners easily, repeatably and most importantly, confidently, rather than being wrestled in. And with this increasing confidence, came increasing speeds. Win - win.
The penny had well and truly dropped!
What other benefits did the course give?
Some time ago, we published a blog about the health benefits of riding bikes. The article compares the health benefits of riding to going to the gym. With this in mind, I wore my Fit-Bit heartrate tracker while riding, and was quite amazed at the results.
How many of us could manage, or even find time for, over 10 hours in the fat burn zone and nearly a full hour in the cardio zone when at the gym.
The monitor has been programmed with my age and from this, sets a maximum safe heart rate of 173 beats per minute (220 less my age). It then considers that any heart rate above 50% of the maximum is the 'fat burn zone'. This equates to low-to-medium intensity exercise, when most of the calories burned come from stored fat. Rates above 70% of the maximum (cardio zone) equate to medium-to-high intensity exercise, while anything above 85% of max is considered the peak zone - a high intensity equivalent for short intense sessions that improve performance and speed.
While far from clinical evidence, the graph just goes to show how involved riding a bike is, and how we should all take the time to get out more.

